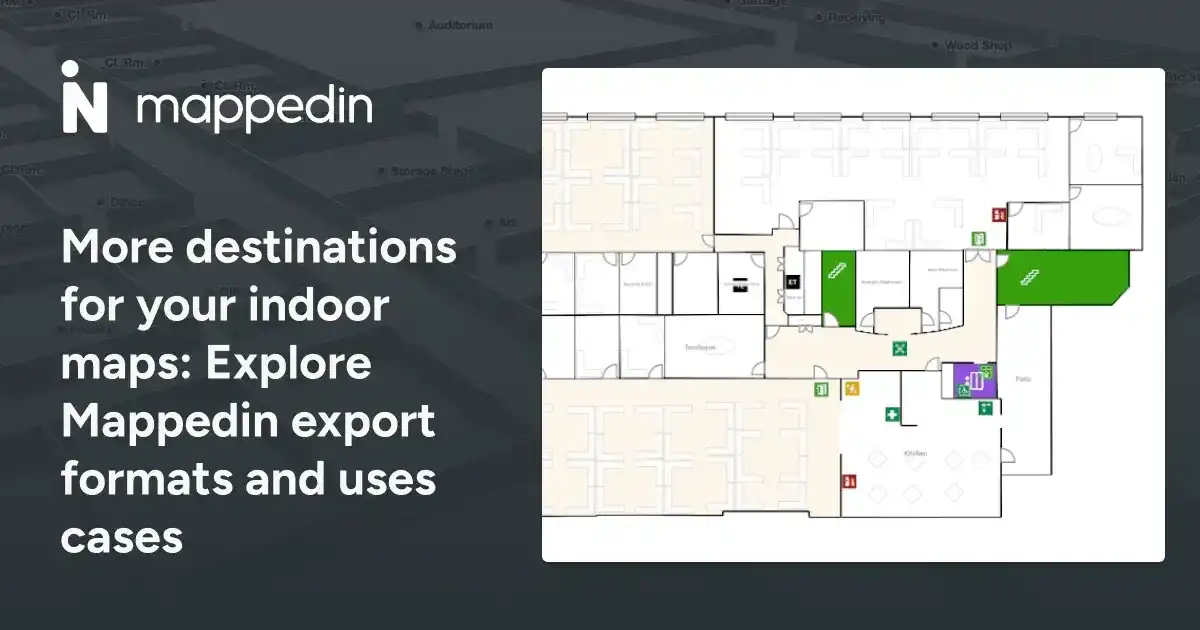
You’re focused! You’re in the mapping zone! You’ve crafted a fantastic indoor map, but is it truly ready to be published? Ensuring your map is fully optimized before your audience sees it involves more than just basic design. Luckily, our mapping experts have created this handy guide to ensure your maps are polished and ready to go live.
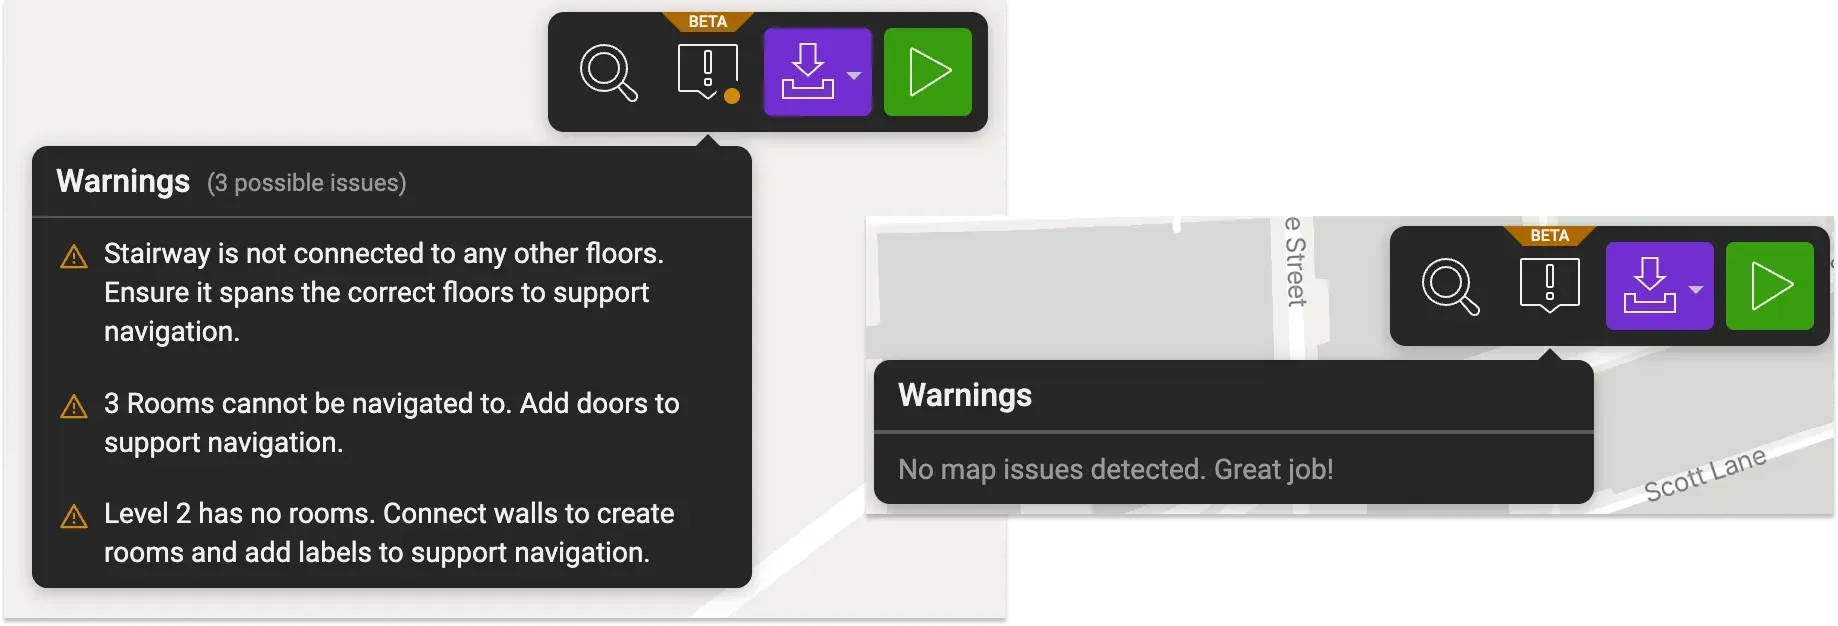
Check for warnings
First, it's crucial to understand and address any warnings and issues your map may have. Begin by checking the Warnings panel for any detected problems. Resolving all highlighted issues ensures your map functions smoothly and accurately.
Know how to make an entrance
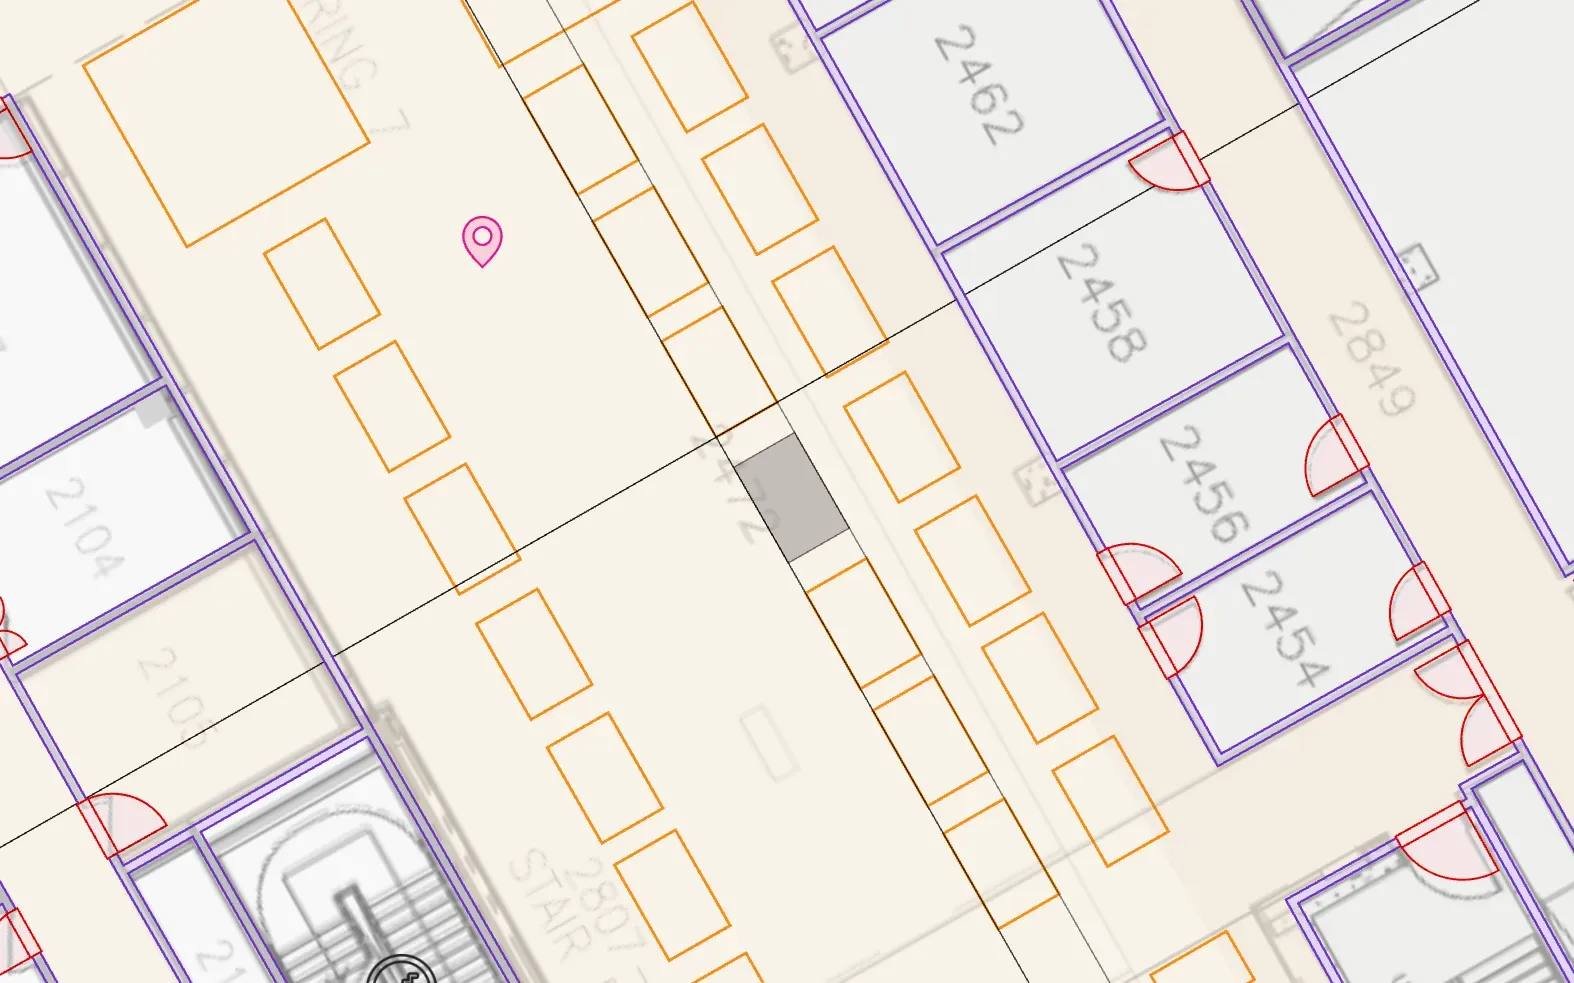
Next, you want to make sure that all spaces intended for navigation are clearly labeled and equipped with doors. This step also involves removing doors from areas that are off-limits, thus preventing unnecessary confusion. When creating entrances, utilize the Door tool instead of leaving gaps between walls, as leaving open gaps won’t automatically create a room.
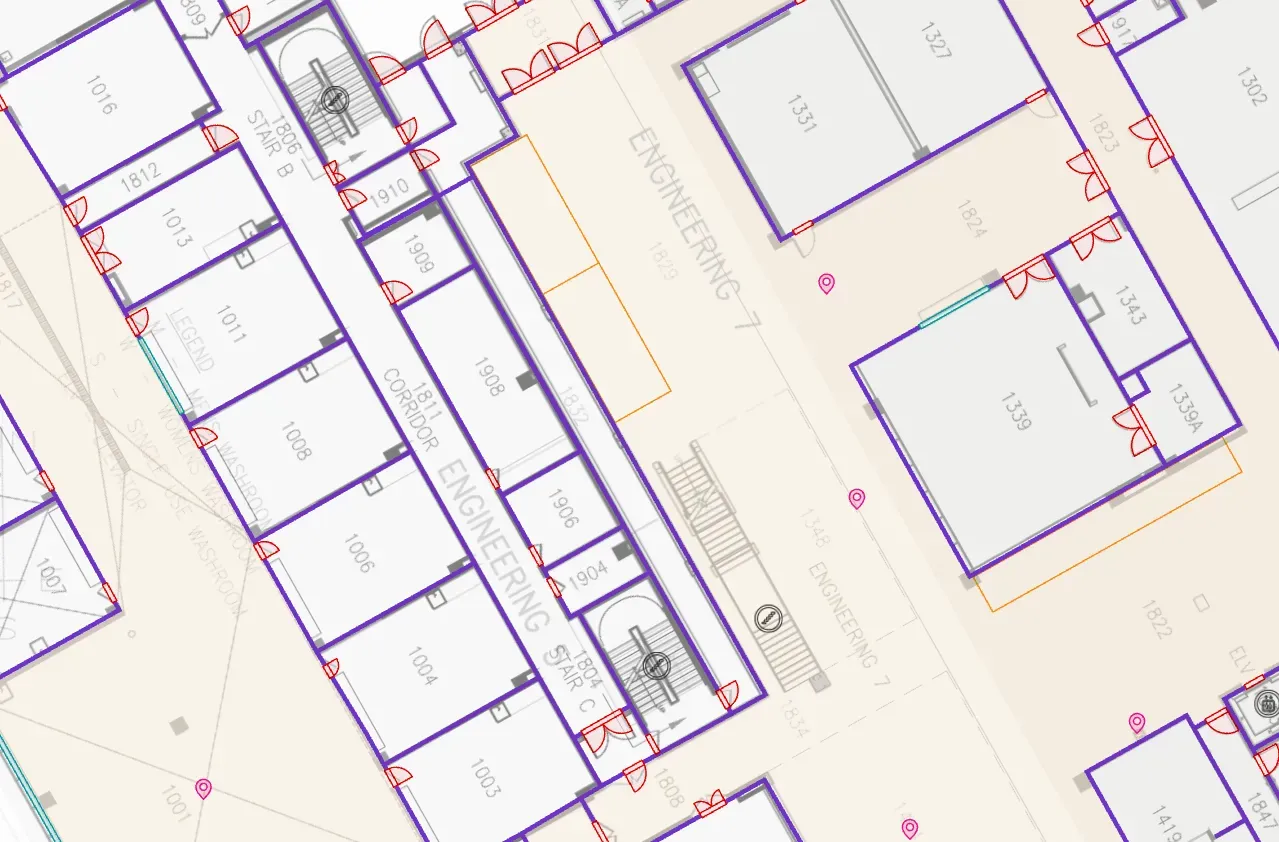
It also helps to provide additional details for doors such as swing path direction and whether it’s a double or single door. While doors won’t be reflected in your 3D map view, they appear when you export the map as a safety PDF.
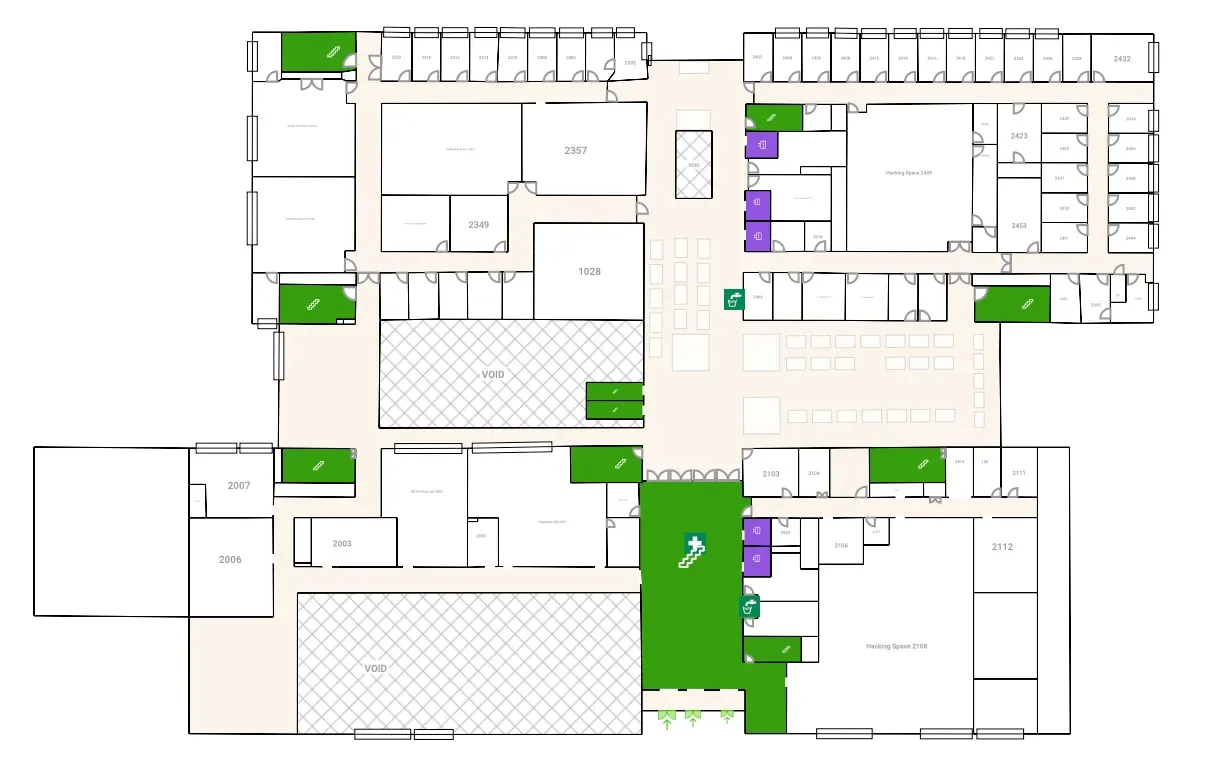
Get aligned
Proper alignment is another key aspect. Ensure that all objects, walls, and other elements are snapped into place to maintain the geometric integrity and navigational accuracy of your map. Snapping is automagically happens, but if you want to freely place an object, hold the
Connect levels for seamless navigation
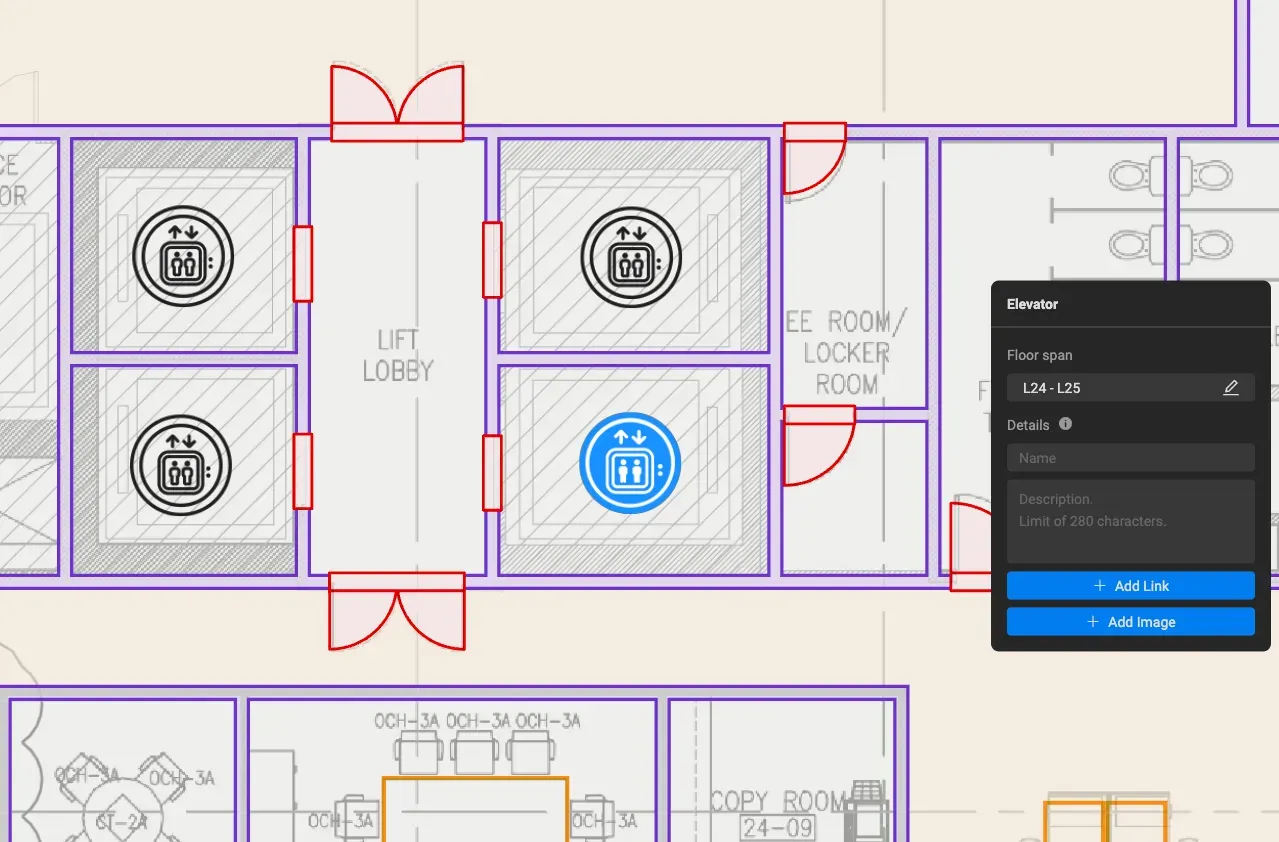
Additionally, ensuring all levels in your building are connected through stairs and elevators is essential. This allows visitors to seamlessly navigate between different levels and, more importantly, helps determine accessible navigation paths. To do this, select an elevator or stairway and in the connection panel, adjust the floor span to reflect the levels to which they connect. Details like a name and description can also be given to these connections, which help when searching for a specific elevator or fire exit stairwell, for example.
Review your preview
Previewing your map is an important part of the process before publishing it live. Explore your map in Preview mode to confirm it looks great from all angles. Use the joystick control at the bottom right corner of your map window or use your mouse to right-click and drag to tilt your view. If parts of your floor appear see-through and aren’t selectable, it indicates a gap between walls. The warning panel might help identify these gaps, but otherwise, you’ll need to manually locate and close them to ensure proper navigation.
Make locations discoverable
To further improve discoverability, add detailed information in your room, object, and marker descriptions. For example, a coffee shop named "Cups & Mugs" won't appear in search results for "cafe" unless you include "cafe" in the name or description. The more detail you add, the more discoverable locations are.

Finally, give your map a thorough review to ensure all elements are correctly placed, labeled, and functional for the best user experience. Remember that map changes are pushed immediately, so visitors get the most up-to-date information to help them navigate.
Key Takeaway
Mappedin's indoor mapping harnesses advanced tools, AI capabilities, and various strategies to create interactive maps that benefit visitors, businesses, and organizations alike. By designing, optimizing, and ensuring your maps are error-free, you can offer your audience a valuable indoor navigation experience. We trust these tips will enhance your mapping journey! Stay tuned to our blog for more expert advice from our team.
To get started for free, Mappedin subscribers can simply sign up at app.mappedin.com on a desktop device.
Tagged In
Share