Start Here
Best practices for enriching and organizing indoor maps include proper naming conventions, adding objects and landmarks (as navigation obstacles), distinguishing space types (rooms, hallways, open areas), creating searchable points of interest with descriptions and images, and implementing safety annotations. These mapping techniques enhance visual appeal, improve wayfinding functionality, and provide valuable location information through properly formatted image markers, detailed location cards, and organized space categorization that optimizes maps for business operations and visitor experiences.
Welcome back to another blog full of mapping tips and tricks! In the previous blog, we explored the basics of creating maps from a floor plan, mapping with AI, and many ways to share your maps. In this blog, we’ll dive into some additional mapping techniques and tools to take your mapping to the next level. Whether you're a marketer, event coordinator, or facilities operator, anyone can create visually stunning maps in only a few minutes. So, let's get started and unlock more tips and tricks for indoor mapping!
A beautiful map is visually appealing and enriched with useful information. Naming your map and adding objects and descriptions will enrich the detail in your space and keep your map organized and more searchable.
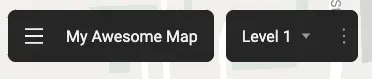
First up, your default map name will be the address you entered when you first set the map’s location; you’ll want to rename this to whatever makes sense! Simply click the map name located in the top left corner of the screen and enter a new name.
Now it’s time to give your map some distinct features! Add objects to your map to represent furniture, fountains, uniquely shaped desks, or any other landmarks that occupy a significant amount of space in your building. All of these things are important to include because they are obstacles and can impact navigation of how your visitors move within your space.
Distinguishing between different types of spaces is also important for a clear and visually appealing map. Select a space on the map and assign it a Space type (Room, Hallway, or Open to Below) from the drop-down menu.
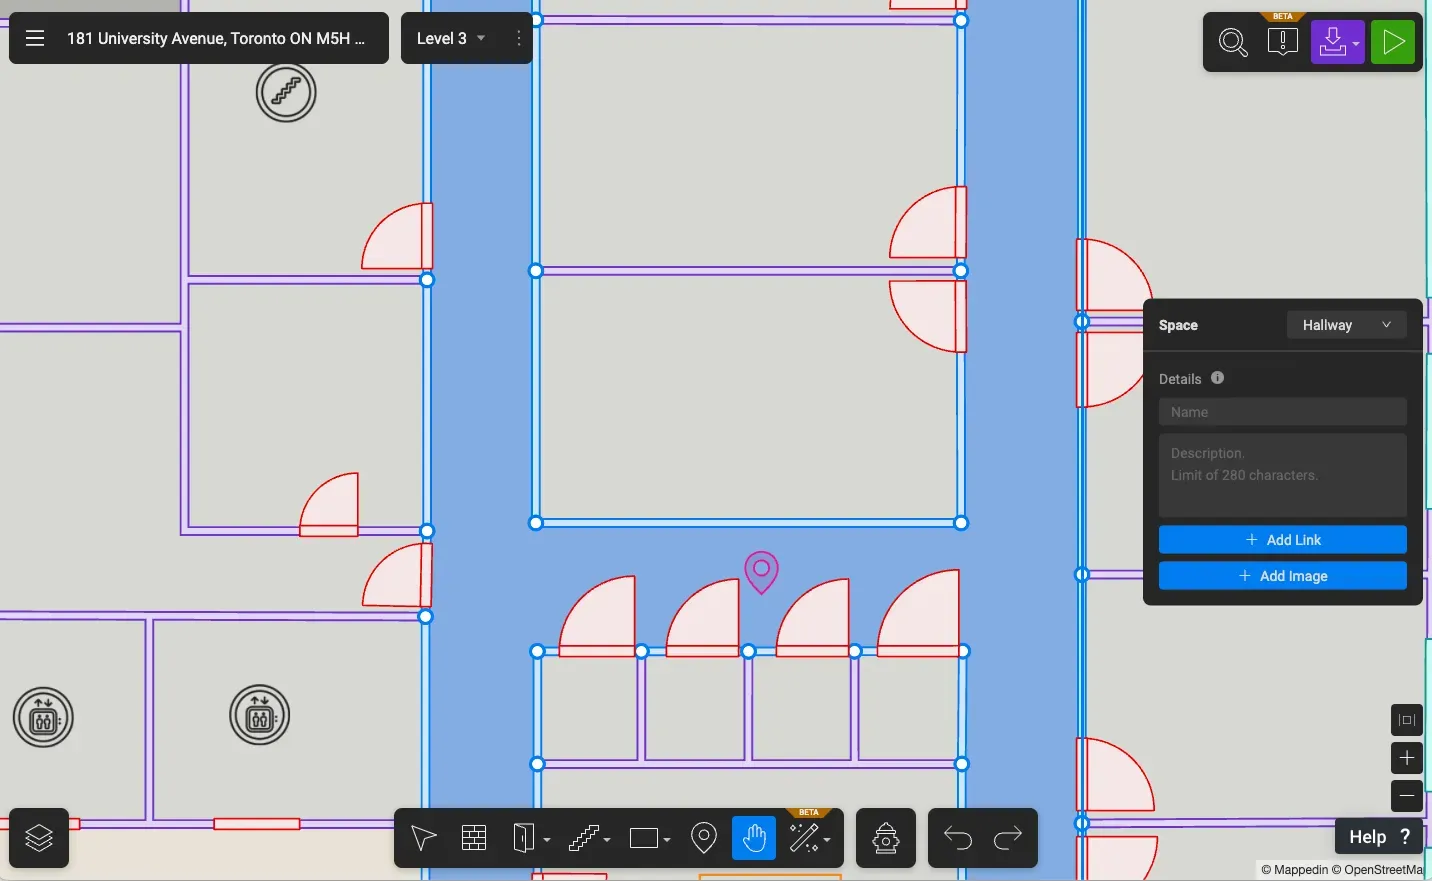
It is helpful because each type of space is rendered on the 3D map with slight visual differences. It also ensures better navigation as different types of spaces are grouped together in the search bar. This way, your visitors won’t be guided to walk across an “open to below” space such as an opening or balcony! 🤕
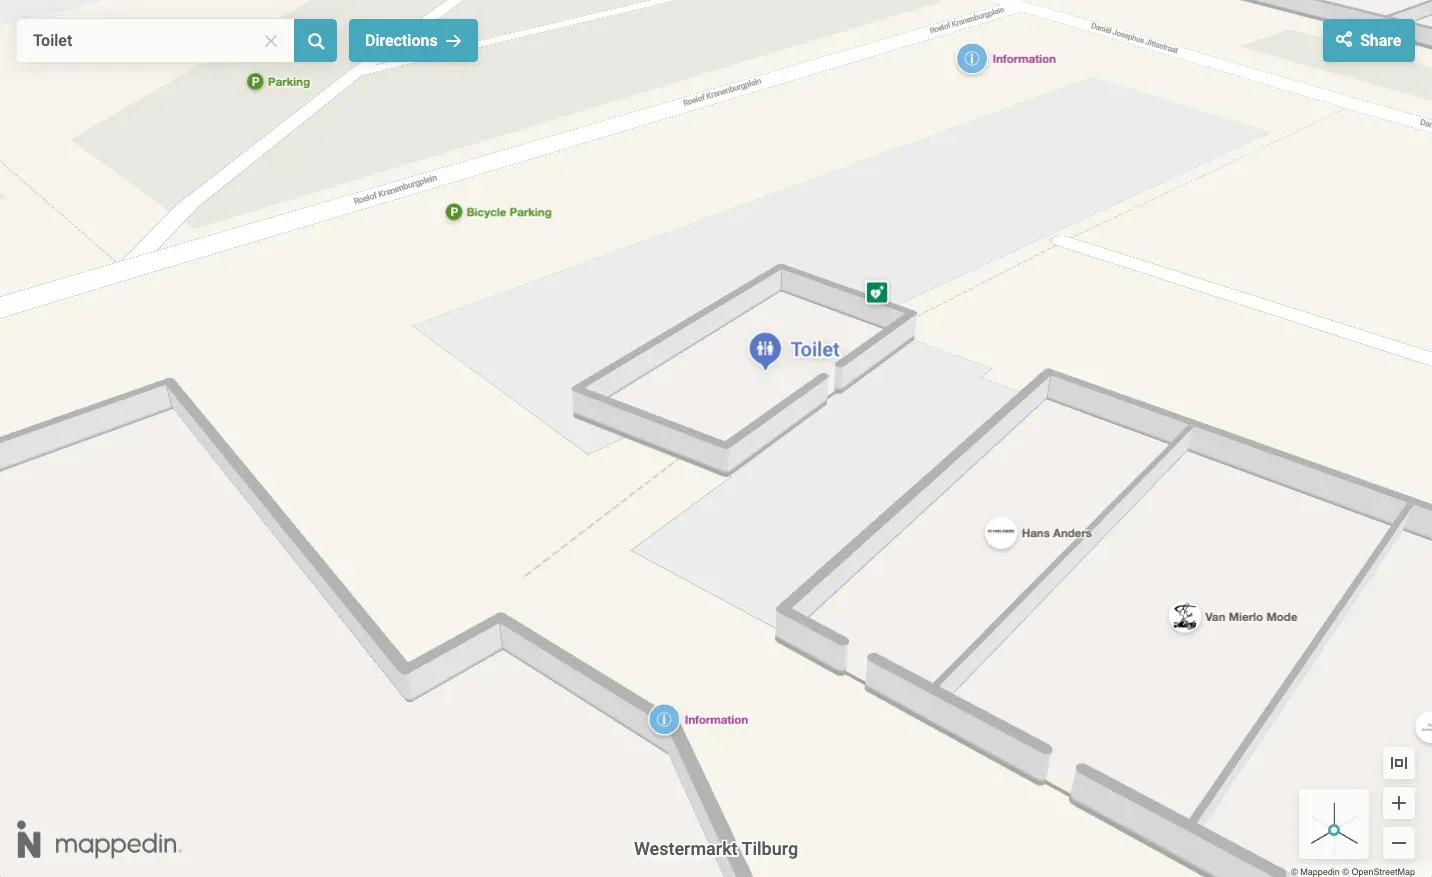
Name your rooms, doors, connections (like stairs), and objects so they can be easily found when navigating or searching your map. Some spaces have special markers based on their naming convention. For example, include the name for ‘bathroom’ (or ‘washroom’, ‘toilet’, or ‘restroom’) in the spaces that are used for that purpose and washroom markers will appear on your 3D map. Similarly, use ‘parking’ as a name for parking areas and the map will use parking markers.
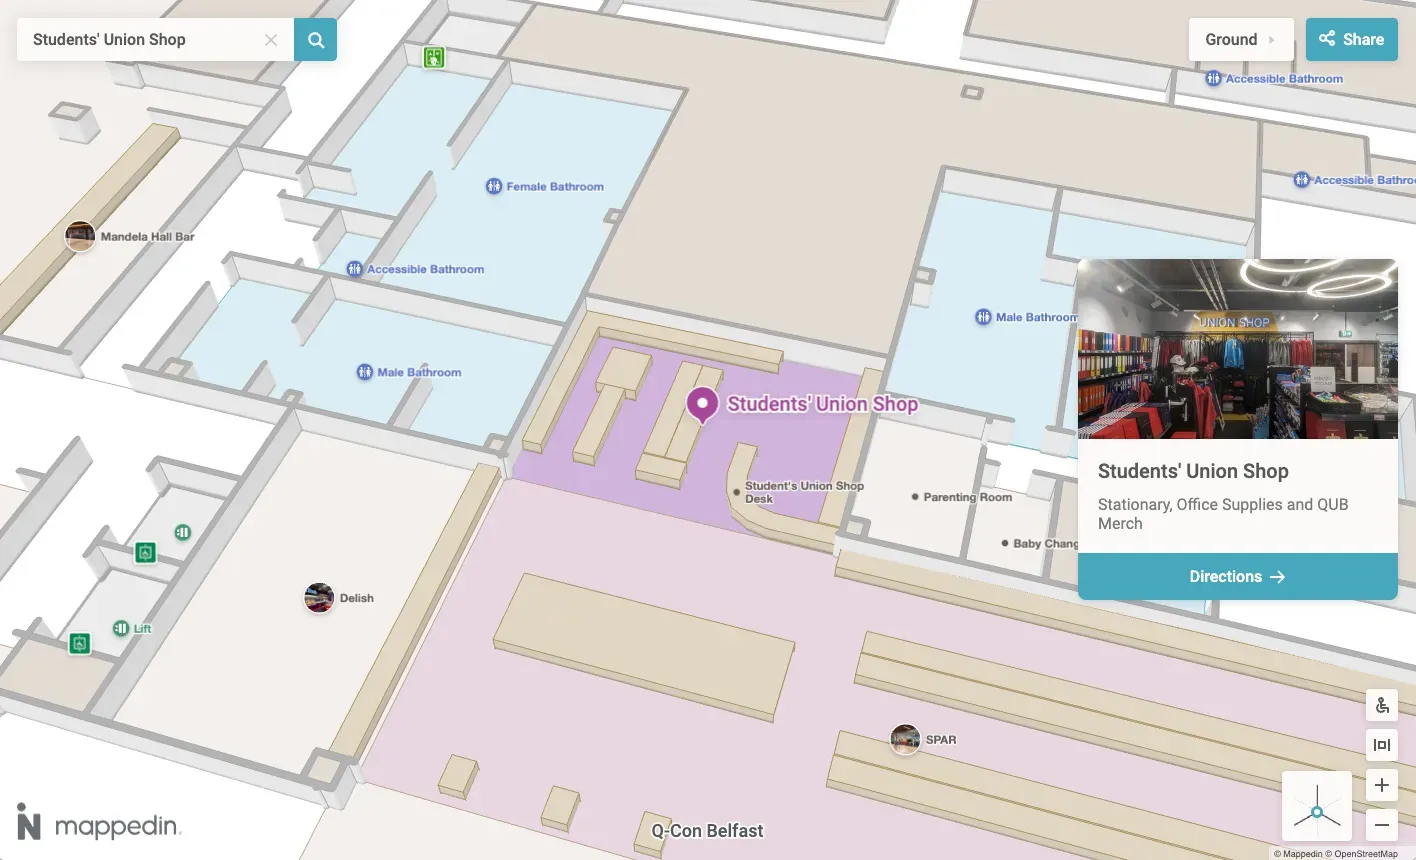
It’s also easy to highlight points of interest on your map with the Point feature such as a reception desk, common areas, kitchens, meeting spaces, the snack cabinet, and much more. You can place a point anywhere on the map and add details such as descriptions, images, and links to create a location card.
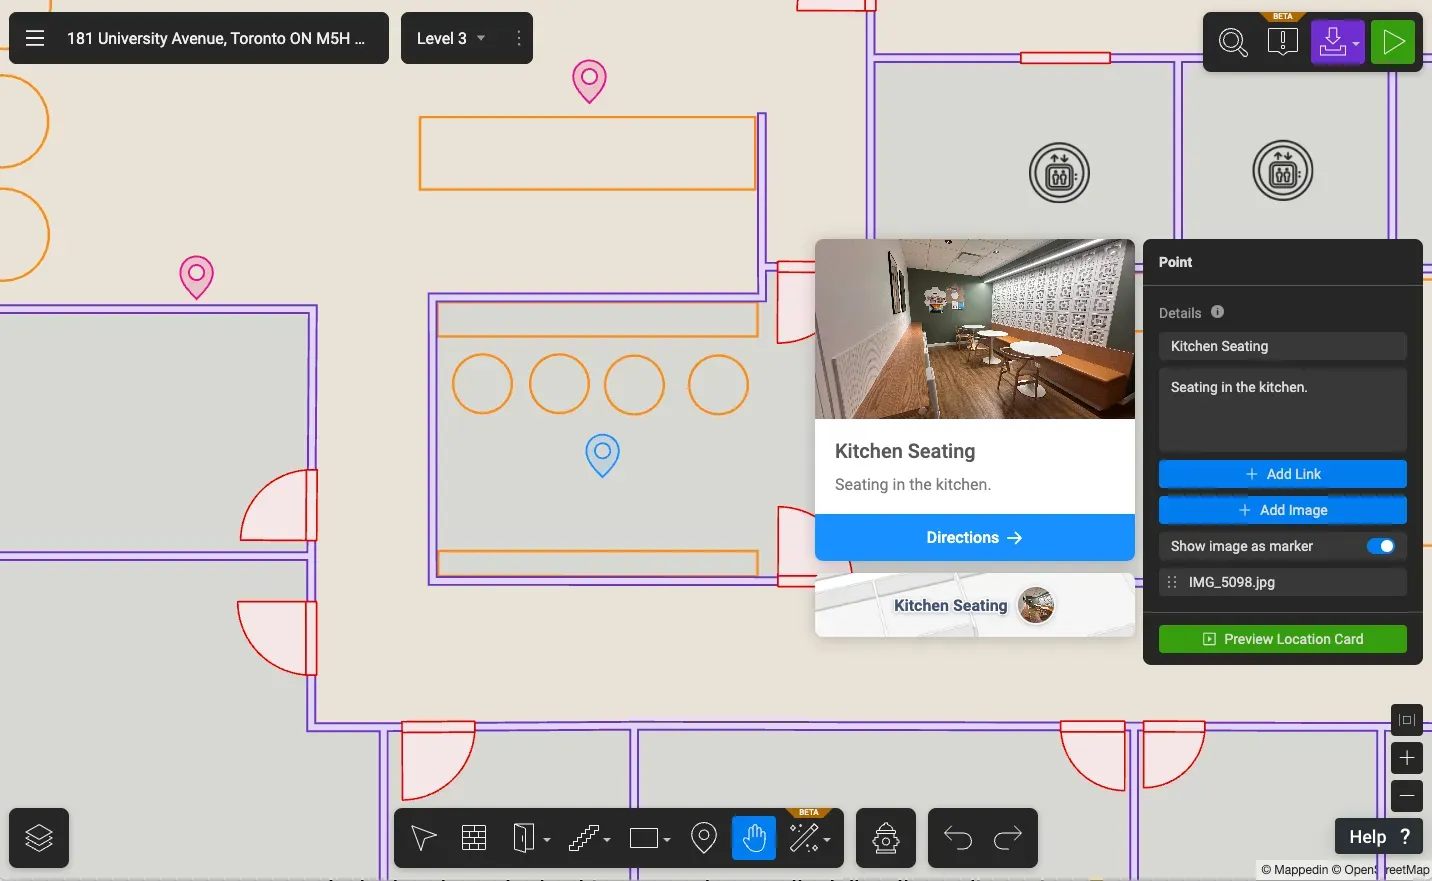
Similarly, adding descriptions, images, links to rooms, connections, doors, and objects provides more information about spaces. For example, you can include a link for booking a meeting room, a description if a door requires special badge access, or the contact information of the person occupying a specific workspace. Bonus tip: add emojis or symbols to your labels to make your map more fun and engaging 😉
Another useful tip about image markers entails formatting images correctly. Since image markers are circular, all images (generally rectangular) are cropped by the circular boundary; the diagram below illustrates this. The image marker image dimension should ideally be 320x180 pixels (or similar dimension). In the middle (the safe zone), the circular crop should ideally be 180x180 pixels.

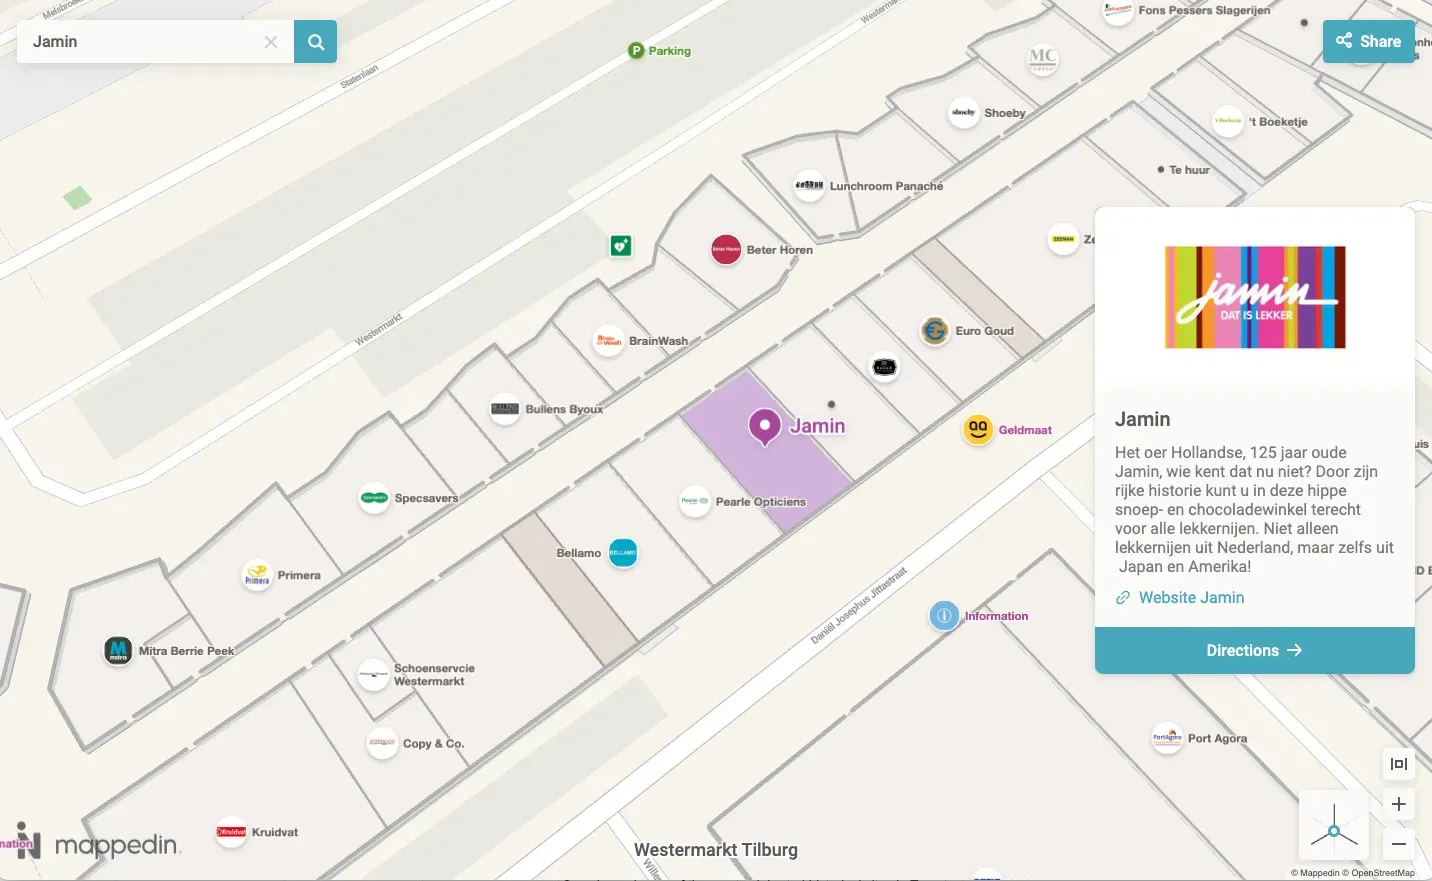
By sizing and positioning images correctly, you’ll ensure that they are shown in the image markers without cropping issues. Adding images to spaces is a great way to provide visitors a sneak peek of what’s inside. Whether it’s a store logo or a picture of a cozy corner in your space, your visitors will get familiarized quickly and will be excited to visit!
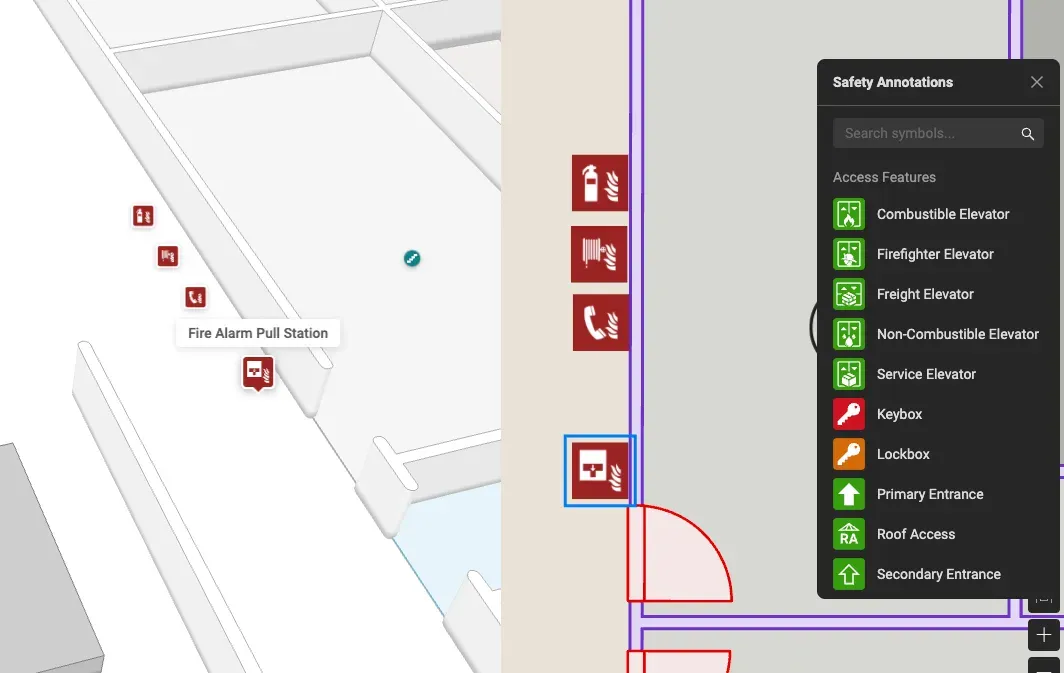
Lastly, for security, operations, facilities, and building management teams, adding safety annotations to your map ensures important building features and safety amenities are visible. A robust library of safety annotations allows you to create detailed maps for safety and fire inspections, security monitoring, and more.
Key Takeaway
When creating and editing Mappedin indoor maps, incorporating details and maintaining organization through best practices significantly enhances your maps. This not only optimizes maps for your business or organization but also helps with visualizing your space and providing valuable information to delight your visitors. We trust that the tips provided above will ensure a fantastic mapping experience for you! Keep an eye on our blog for more expert advice from our team.
To get started for free, Mappedin subscribers can simply sign up at app.mappedin.com on a desktop device.
Share