As part of your plan this New Year, are you looking to improve your space’s layout and need to map it first? Maybe you're interested in showcasing your venue on your website or helping returning office employees find meeting rooms more easily. Or perhaps you want to provide precise instructions to delivery drivers for pickup at warehouses, eliminating the need for constant guidance. In any scenario, Mappedin indoor mapping will provide you with everything you need.
For those who are new to our blog, we’re thrilled to have you here! Our goal is to keep you informed and inspired with insightful articles and practical tips on using indoor mapping solutions to transform visitor experiences in offices, shopping malls, airports, events, and other spaces.
To start mapping your own space, here are 10 useful indoor mapmaking steps (and bonus tips) to create an outstanding indoor map.
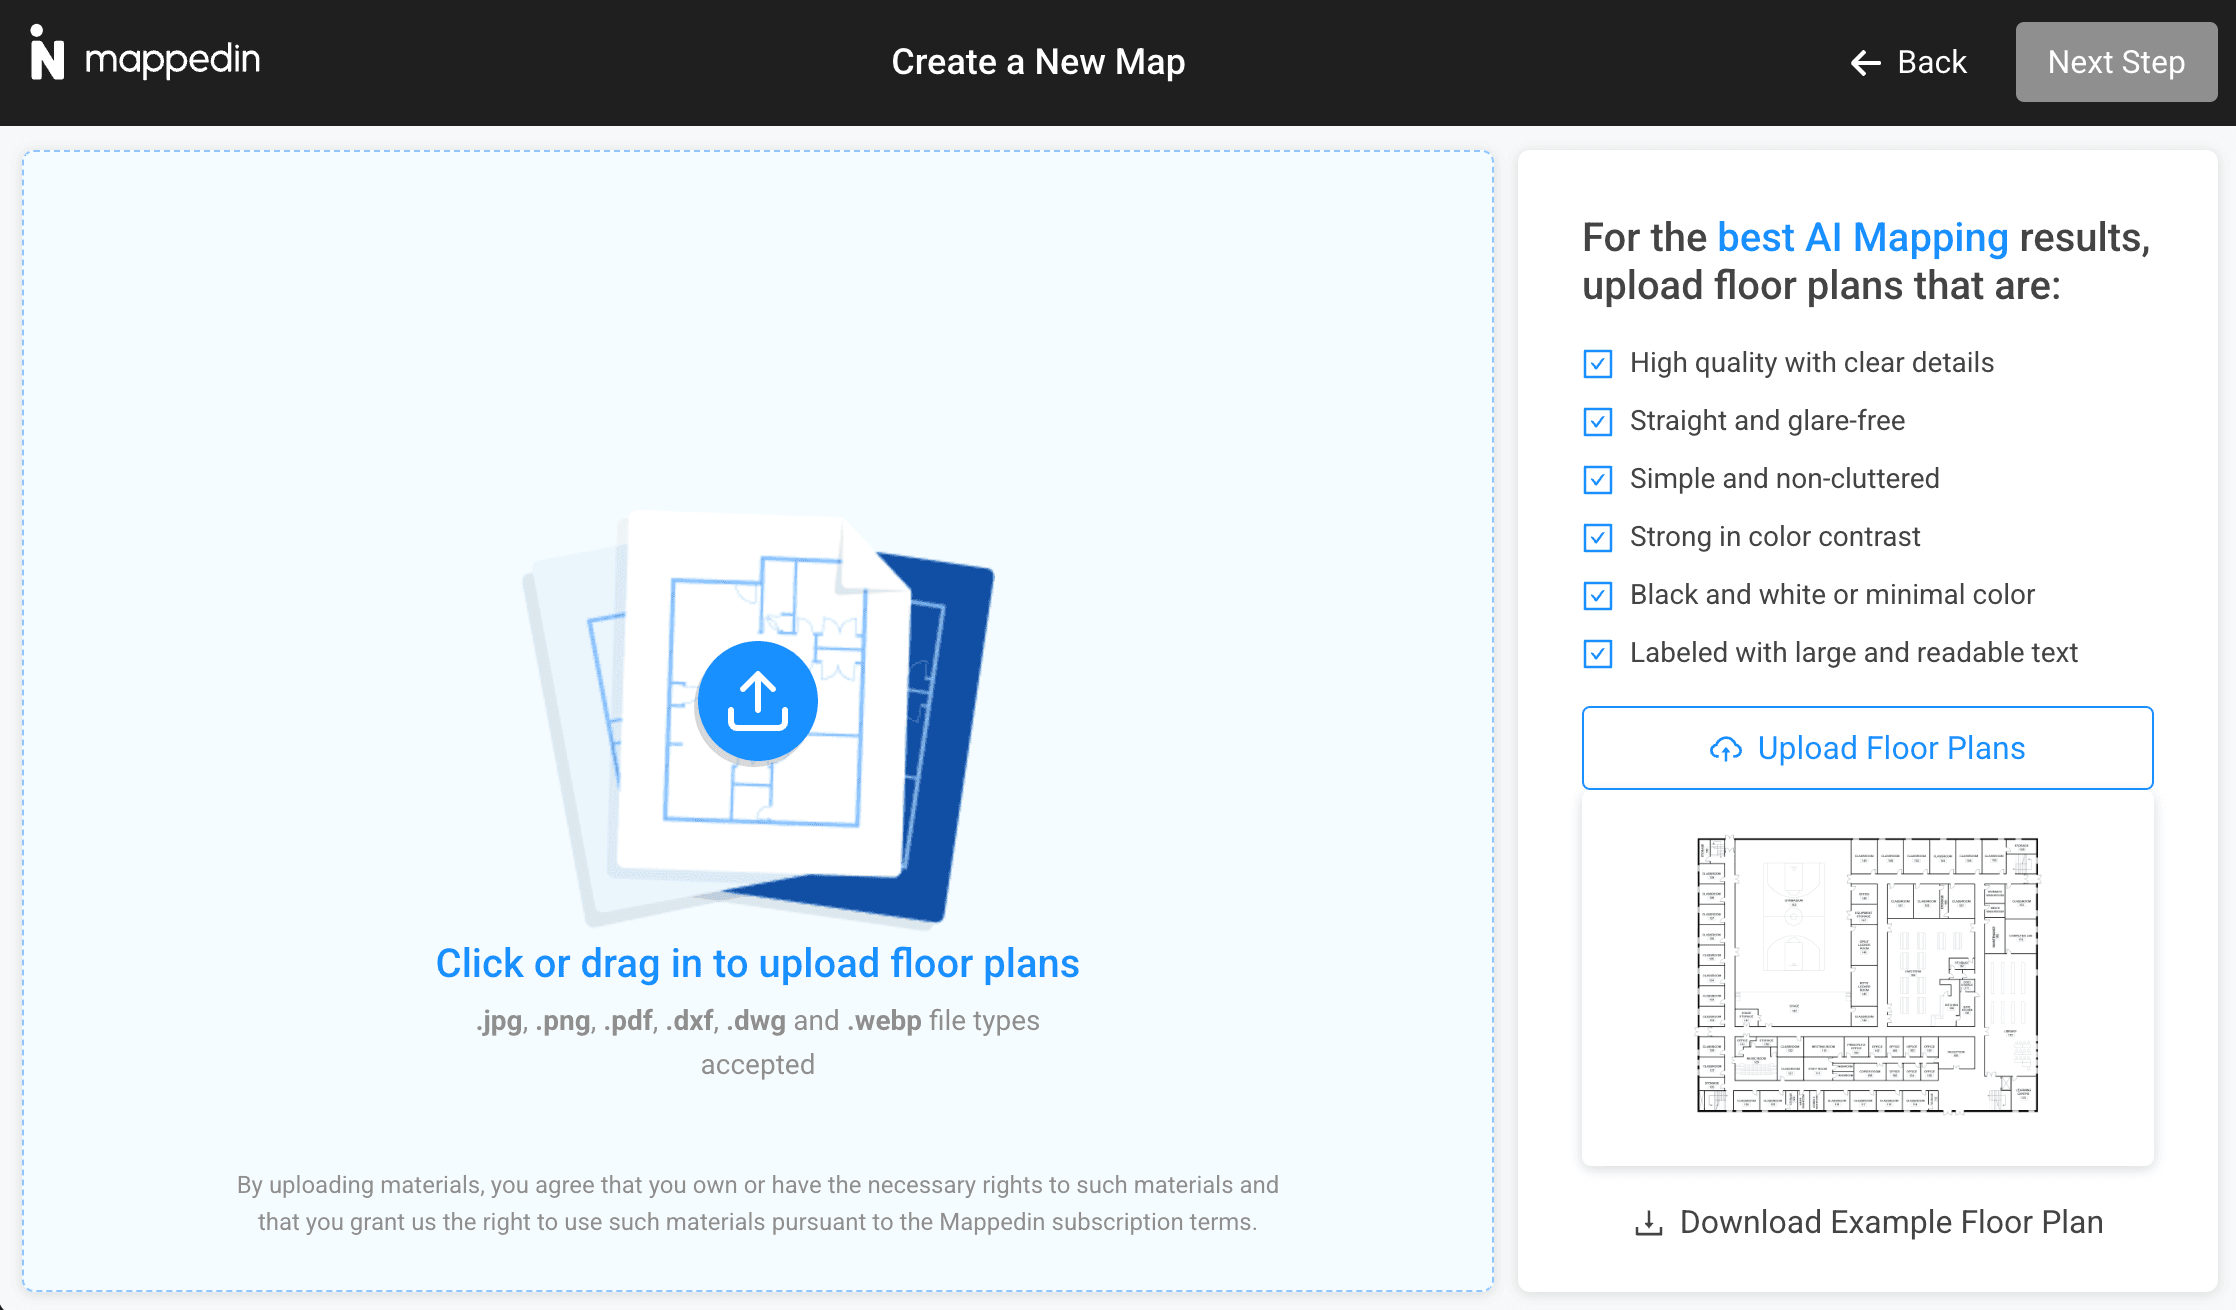
1. Start by uploading your floor plan.
You can upload floor plans as PDF, PNG, JPG, DWG or DXF files. Alternatively, if you have an Apple iPhone Pro or iPad Pro, you can also download the Mappedin Room Scan iOS app to capture your space using LiDAR technology. We have a useful guide to walk you through scanning your own space.
2. Position your building in the real world.
By providing an address, you can easily find your building's location to align it to either the footprint on the map or a detailed satellite image. Accurate positioning now will provide better mapping results later.
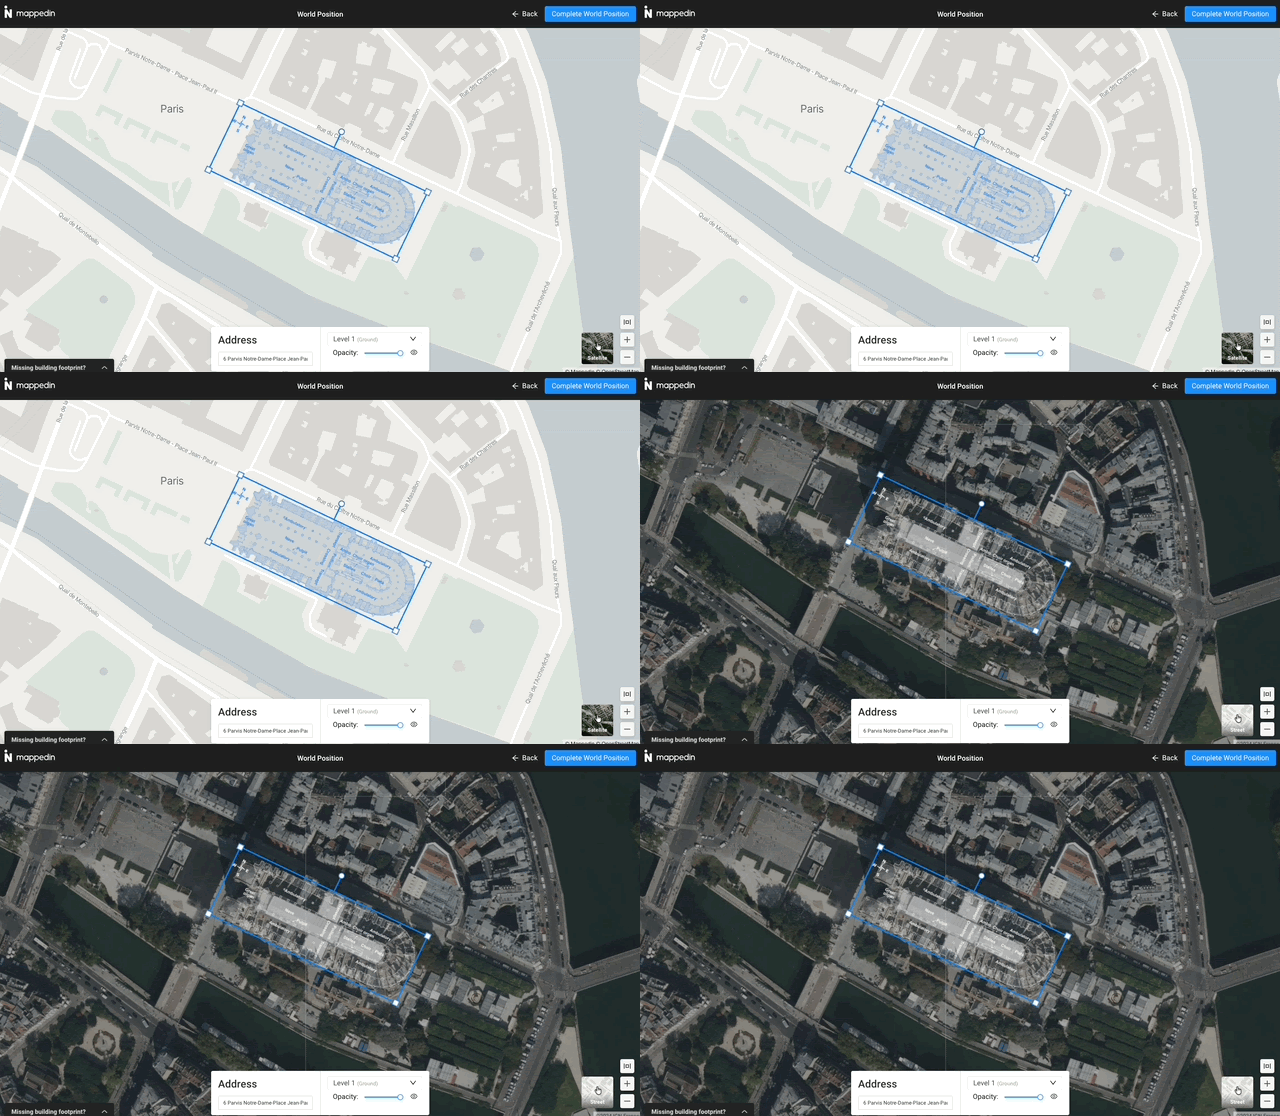
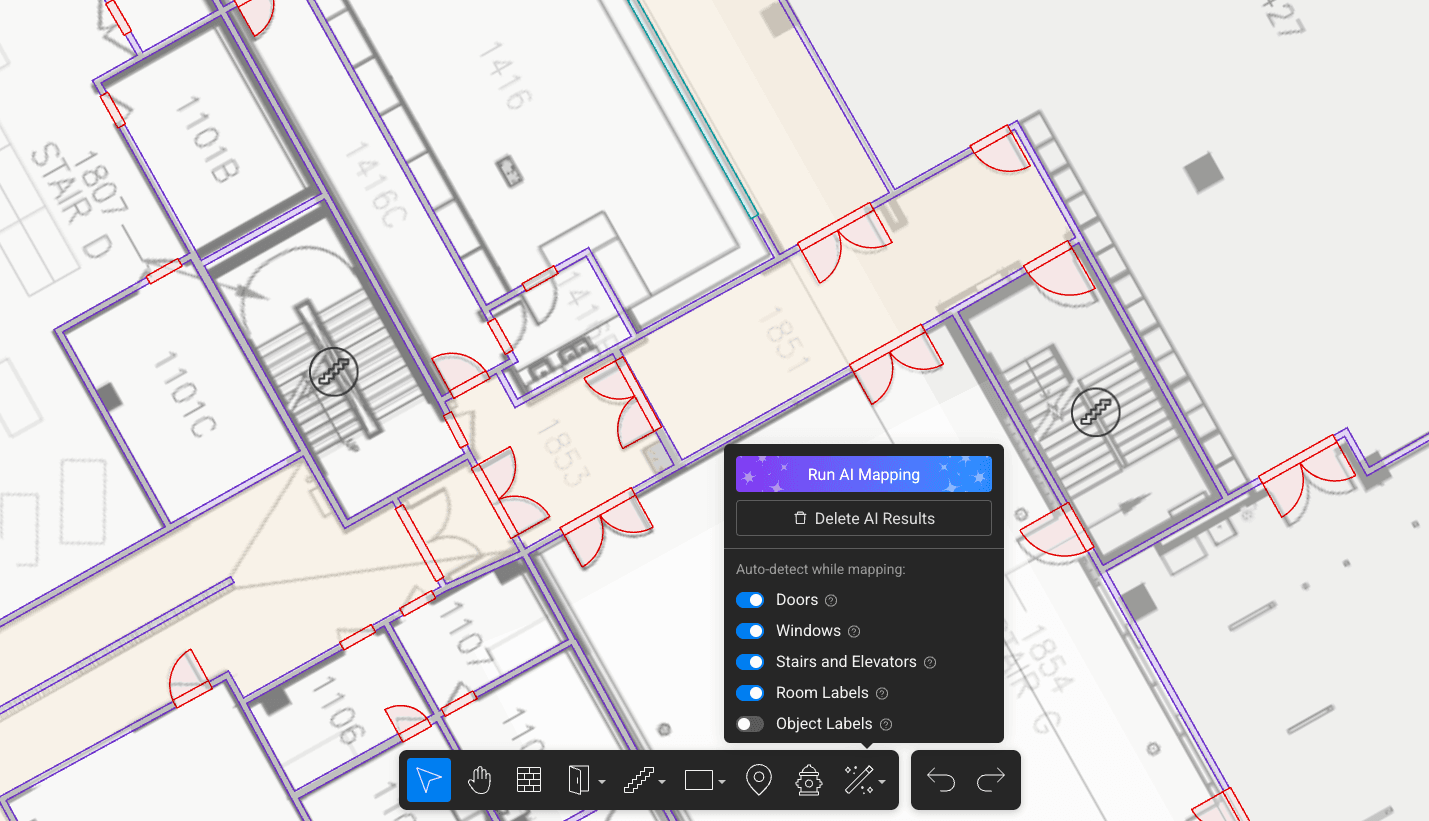
3. Run AI mapping on your floor plan to start building your map.
Our mapping AI detects details from your floor plan including walls, doors, windows, and more, creating and placing them on your map in seconds.
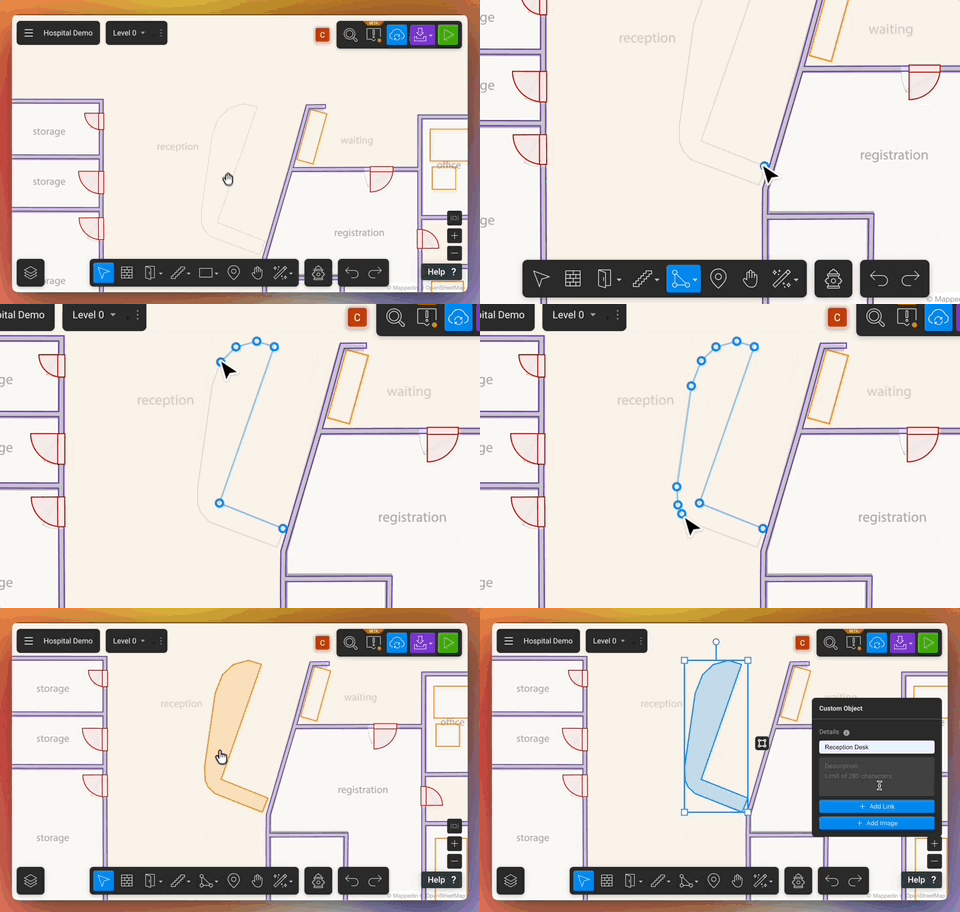
4. Add objects to your map.
These objects represent furniture and landmarks in your space and can be created with the Custom Object tool. Go beyond simple shapes and get creative to make uniquely shaped objects!
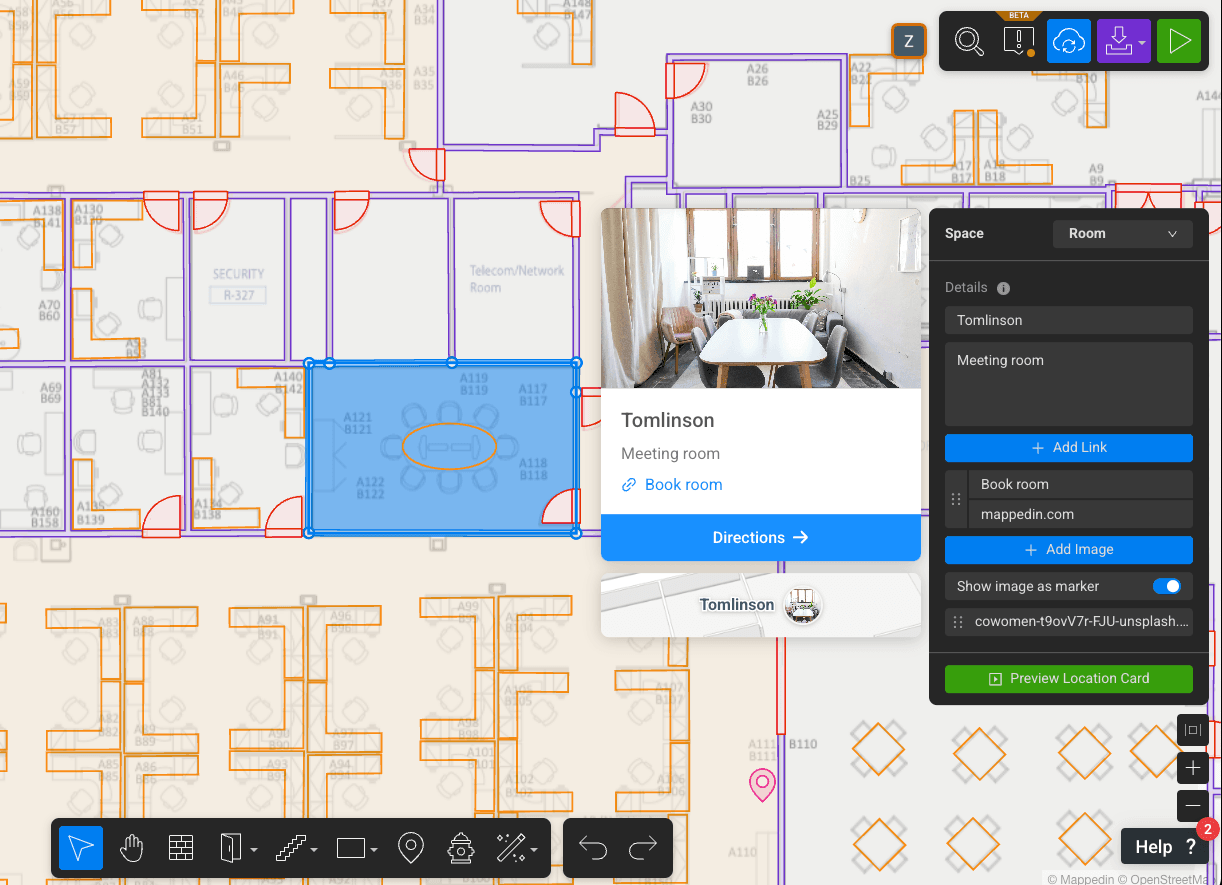
5. Label your spaces and objects to add detail and make your maps searchable.
Adding lots of detail to your map makes the visitor experience better. Details added to rooms, furniture, markers, and more are all searchable and can be navigated to. Easily upgrade your map to Plus or Pro if you want to add more details such as descriptions, images, and links.
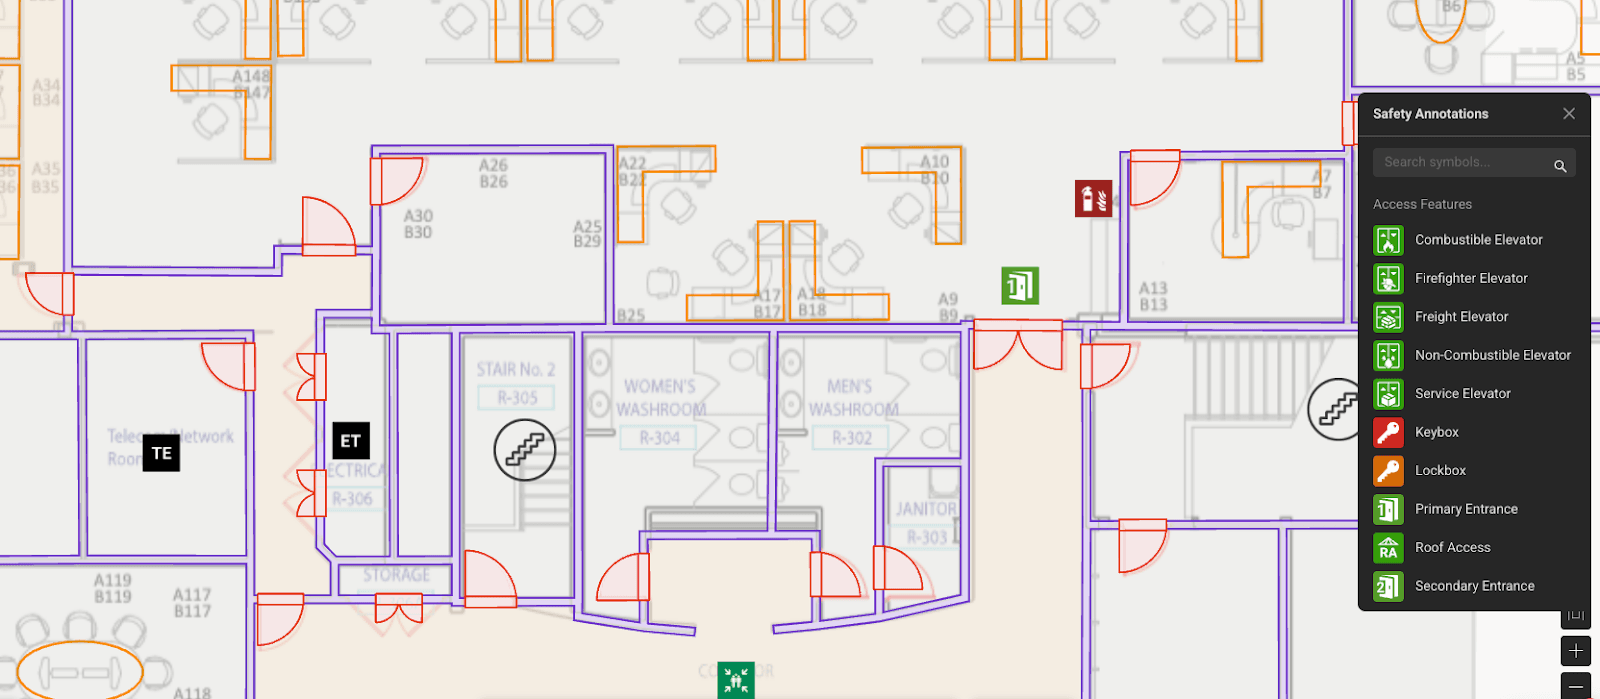
6. Switch to Safety Annotation Mode to add annotations.
Browse the annotation library and add annotations to your map to highlight safety, security, and maintenance features of your building. Safety annotations also appear on your safety PDF that you can download for free (see below!).
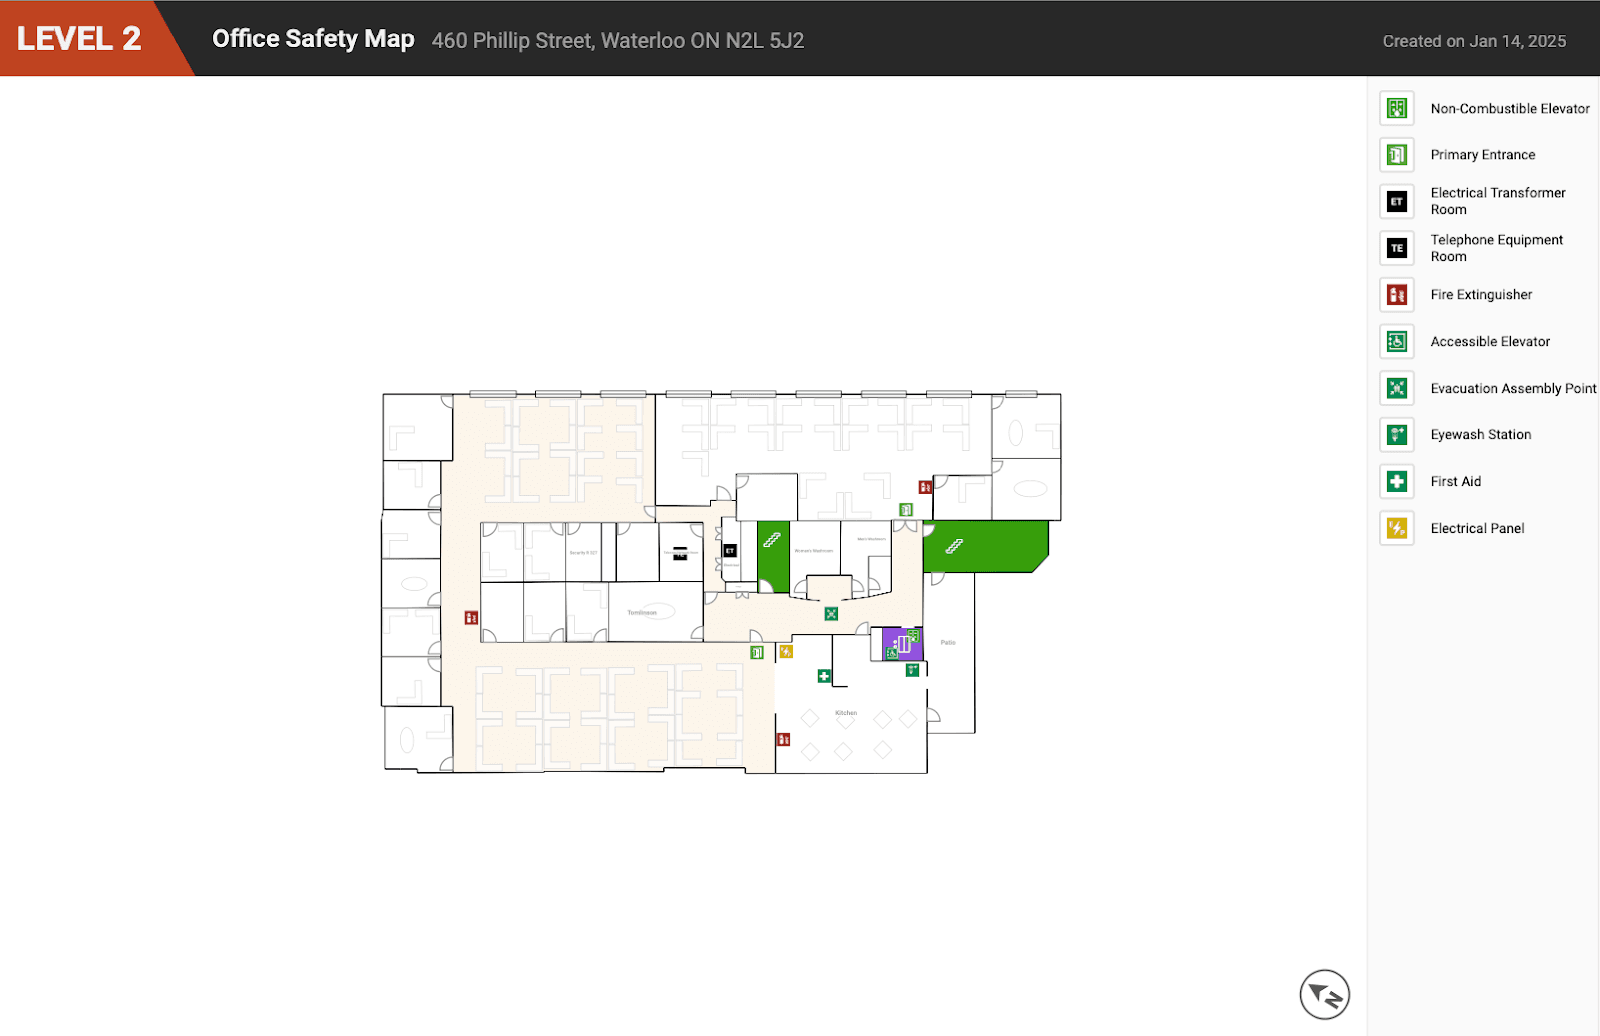
7. Download your map as a safety PDF and share it with anyone.
A safety PDF can be printed out and provided to tenants, building management, or posted for safety purposes. Other export options are available as well including Microsoft Places IMDF, a workplace platform. For maps upgraded to Plus or Pro, even more options are available including glTF, SVG and MVF (GeoJSON bundle).
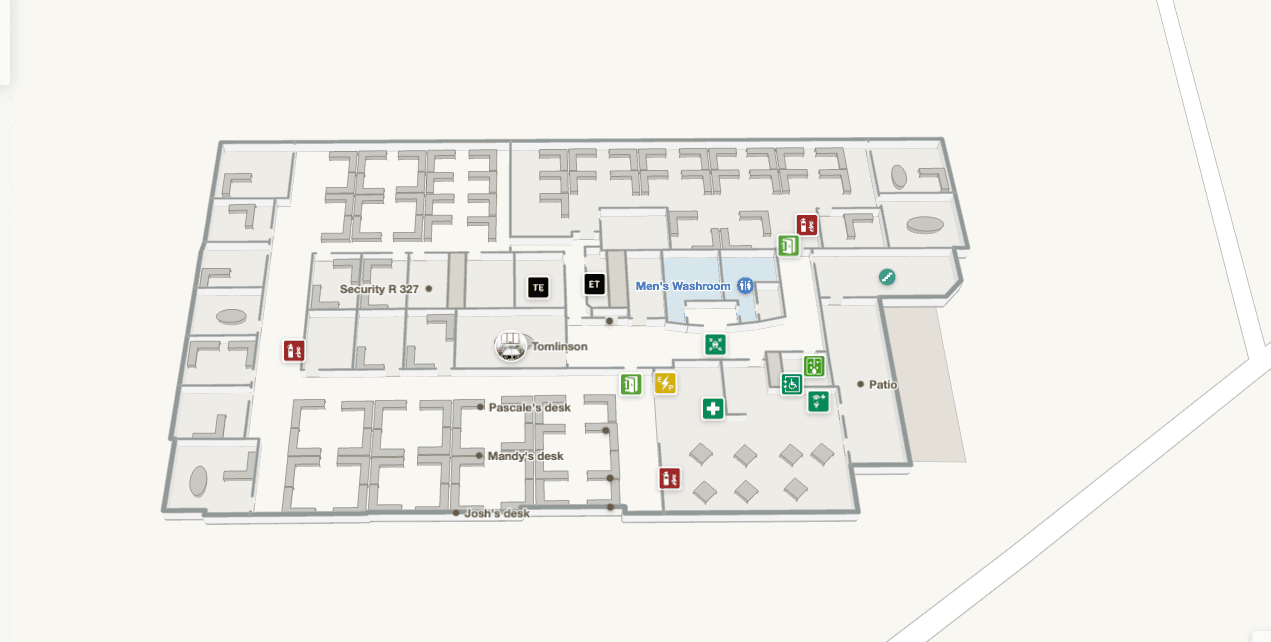
8. View your interactive map in 3D to see the final results.
Match your map's mood with themes. More light and dark map themes are available in Plus! Upgrade to apply a theme and to create multiple views and manage them for different audiences.
9. Publish your map so you can share it with whomever you like.
Publish your map and share the URL online through social media or in email. Tip: For events, download the QR code and include it on event signage so that visitors can quickly scan and open a map of your space.
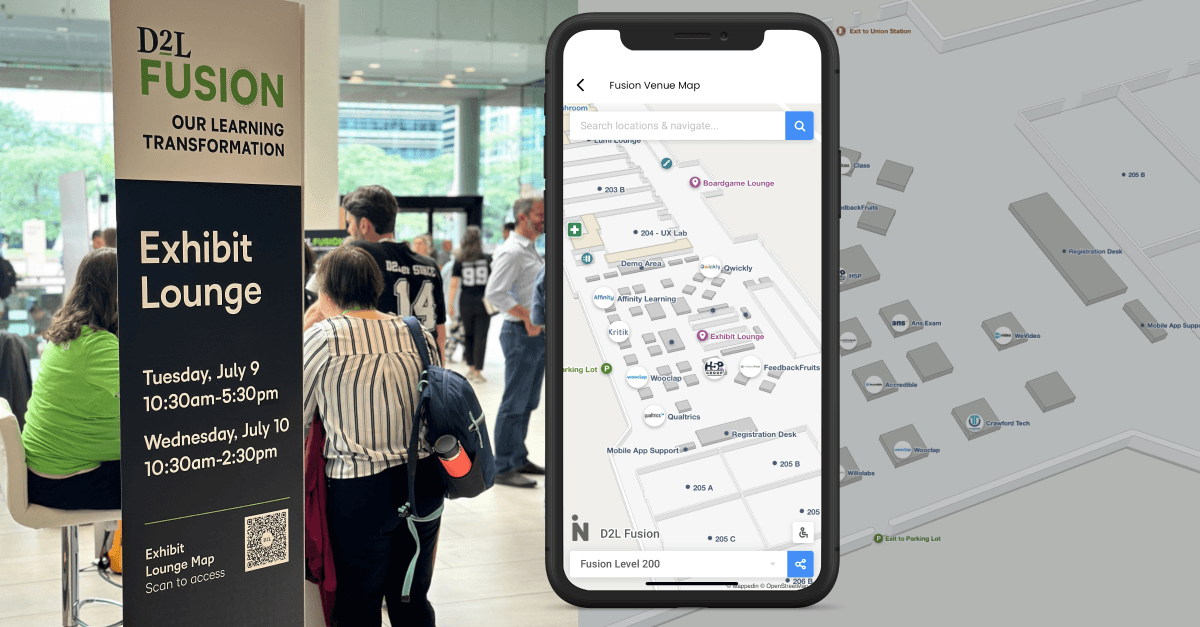
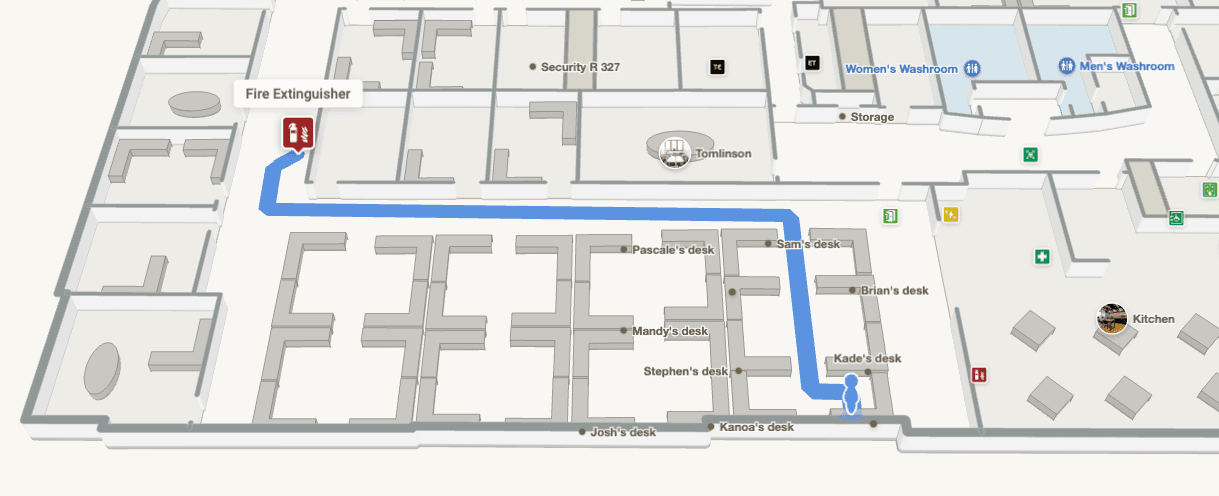
10. Navigate your map and share direct links to specific routes.
This is useful for providing exact navigation directions from a starting location to a destination. You can get to and from directions for almost any object or room that you've created. Tip: you can even get directions for an open space by simply right-clicking the map, selecting "Directions to this point", and choosing a starting point.
Now that you’re more familiar with our mapping tools, we hope these tips will show you how easy it is to create a map with Mappedin. Make sure to read our other blogs and guides with more best practices and tips.
Tagged In
Share

